Ultimate Member - AWeber Usage Instruction
This add-on requires the Ultimate Member plugin.
Installing the Ultimate Member - AWeber Extension
Once the Extension has been downloaded you can install it using the standard WordPress method.
- 1
- Download the Ultimate Member - AWeber extension from your account page
- 2
- Log into the Administration Panels (Dashboard) of your WordPress site
- 3
- Navigate to the Plugins | Add New menu item
- 4
- Click on the "Upload" link in the horizontal menu under "Install Plugins"
- 5
- Click the "Browse" button and locate the archive you downloaded (from above)
- 6
- Click the "Install Now" button
- 7
- Click the "Activate Plugin" link at the end of the installation messages.
- 8
- Activate your License Key for automatic plugin update. To know how to activate your License key click here
Initial Configuration
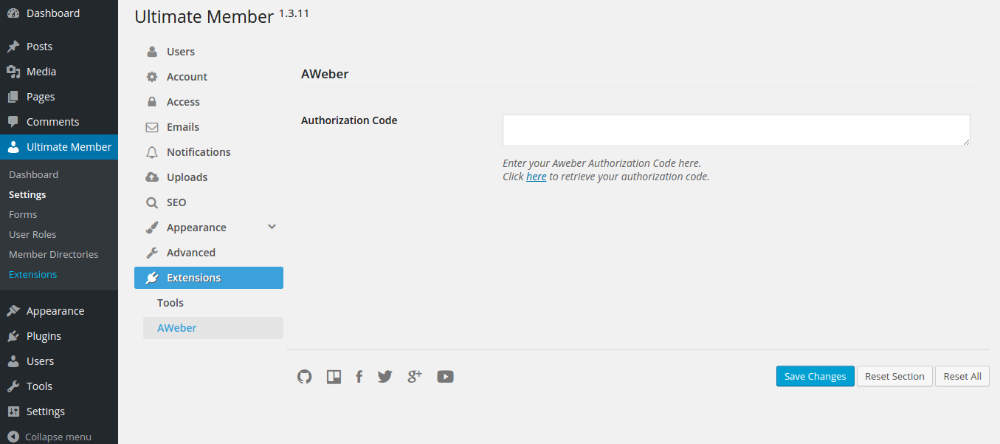
 6. If your Authorization code is valid, a "Valid AWeber authorization code!" notice will be displayed.
Using the Ultimate Member - AWeber Extension
To use the Ultimate Member - AWeber Extension you need to add the AWeber field to your Ultimate Member Registration form and configure it.
When editing any of your Ultimate Registration form, click the " Add Field" link, and select the "AWeber" field

Once the "AWeber" field has been selected you can configure the "AWeber" field using the options available.

Title - This is the title of the field for your reference in the backend. The title will not appear on the front-end of your website.
Select a list - Select the AWeber list you want your users to be added to when whey register.
Subscribe Label - Enter the form label that will be displayed on the registration page, if left empty the default label "Subscribe to our newsletter" is used.
Sign-up Checkbox Default State - The default state of the sign-up checkbox. This is only used when the Auto Subscribe option is set to No
Auto Subscribe - Once this is enabled users will be added to the AWeber list automatically. This will hide the subscribe checkbox on the Registration page.
Once the AWeber list has been configured and added to the Registration page a newsletter checkbox is added to the registration page it is only displayed to users when Registering if the Auto Subscribe option is turned off.
